Pages

Monday, June 17, 2013

Super Rad Ottoman


This is what I started with: a $15  coffee table acquired from a thrift store.


This is what I ended with: a super rad ottoman.


I started by priming and painting the legs.  I then determined where I would drill holes through the table.  I wanted the tufting pattern to be a semi-diamond shape, so I drilled three holes in the middle and two on either side.

 I used a twin size foam mattress pad for my foam padding.  I then cut holes in the foam to match the holes I drilled in the table.  Using regular scissors it is easy to cut this foam.  I cut it to size (or relatively close) and then added three layers of batting. Actually, I added one layer of batting and then added all my buttons, realized it was not puffy enough and had to take out all the buttons and restart.

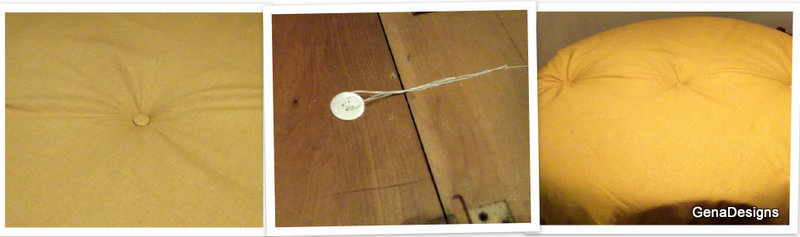
I started with the button in the middle, which was the hardest to do.  Using an upholstery needle and really strong thread I started underneath the table went through all the layers of foam and batting and attached my covered button.  In order for the covered button to stay, I tied it off using a regular button underneath.  (This was the hardest part since I did not have anyone to hold the covered button down enough for me to get a really good poofiness to button ratio.  I may redo the center button when my sister comes to visit me (hint, hint, sissy-poo).  The buttons closer to the edge were easier because I was able to hold them down with my chin and tie them off underneath.  (Thus, this part is easier with a friend).

Here are pictures of the underside of the table with all the buttons attached.  I then cut off the excess thread and stapled the batting to the underside.

The final steps are to create an edge on the fabric and staple.  I found this easier to do if the fabric is cut into a circle shape before folding.  I just gave myself several inches of excess overlap and then cut.

The final, final step is to flip ottoman over and admire your work ;)

I like the above picture the best because I "strategically draped" a gorgeous blanket on it that I received as a gift.


Sunday, May 19, 2013

Clothespin Magnets


I adore these magnets!! They are super simple to make and are quite the addition to your fridge.

To start out, cut card stock paper to size and glue it to the clothes pins.  I glued it to the front and back.  Allow to dry for a bit (or overnight if you are patient- I am not).  Using a piece of sandpaper, sand the edges of the paper and clothes pin.  This will even up the paper and give it a slightly distressed finish.  Apply a coat or two of Mod Podge and while you wait for that to dry, start on your flowers.


I used the Fiskars XL lever punch in the Poppy design.  I punched out four and using a small stamp pad, lightly added color to the edges.  Fold each of the petals inward and then using the handle of a small paintbrush (or a similar tool) curl the edges back.  Layer and glue three of the four layers together.  In the last picture above, notice that there are only four petals instead of five.  In order to get a curved flower I cut between two of the petals to the center and then glued one petal under the other.  glue this to the other layers, add an embellishment to the center and you are ready to glue it on your clothes pin.
If you are feeling a bit saucy, you can try this other one I made as well.
 
That is my nephew, I don't know which is cuter the magnet or him.  It's him!!!

This is an extra large clothes pin that I found in the craft store for around a dollar.  I used book pages to make this flower.  To get this look I first sprayed the pages (torn out of course) with my morning's coffee and then ironed the paper.  I followed the same steps for the other flowers except before I curled the edges I added two layers of Mod Podge to give it more stiffness. 


Saturday, May 18, 2013

Photo Frame Re-do


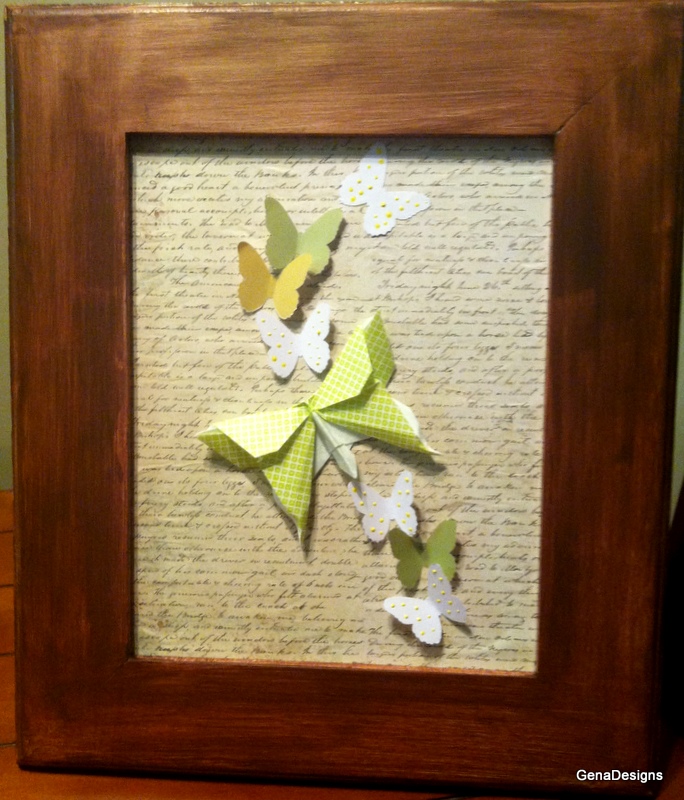
I bought two of these frames at a thrift store for under three dollars each.  One I used for a butterfly picture and the other I made into a photo frame.  This is a super easy and fast project.


First, I took out the glass (I am starting to accumulate these. . . hmmm. . . what to do with them?)  and the mat inside the frame, but I kept the backing of the frame for my fabric.

 I spray painted the frame white and using a spray adhesive I positioned my fabric onto the backing of the frame.   I then just needed to cut the fabric to size.  I used a linen fabric because I was going for a minimalist look.


Once the spray paint was dry, I put the backing into the frame and hot glued metal clips to the front.


 I added two pictures of my gorgeous parents and viola!!


Thursday, May 2, 2013

Origami and punched butterflies


 My girlfriend at work is graduating with her Master's degree.  I decided  to make her this butterfly collage.  It is very easy to make.  I started out with the frame below.  I bought it at a thrift store for under $3.00.  I took out the glass and the mat, but used the back part to glue on my card stock.


 Before I glued down the card stock, I embossed it using a stencil I had and the end of a mechanical pencil (without the lead in).  You can go to the craft store and buy a light box and an embossing tool, but I just taped the stencil and paper to the window.

The stencil is on the window and I used the pencil to go around each shape. 
I embossed a K (her first initial) and a group of flowers.
I like this part because I didn't have to go out and buy other materials, I just used what I already had to emboss the paper.  Once this was done, I glued the card stock to the back of the frame using a spray adhesive. 


I didn't have card stock large enough to cover the entire back of the frame, so I used two different colors.  In order to hide the line between the yellow and white card stock I added pink Ric-rac (it looks red in the photos).

Ahhhhh. . . Now the fun part!! I have two different kinds of butterflies in this project.  The smaller butterflies are simply punched out using a Martha Stewart craft punch.


For this project I punched four white from card-stock, four mustard-yellow from card stock, two green from card stock and two pink from origami paper. (I punched out more than I needed).

 The larger butterflies are folded origami using origami paper.  There are several different types of butterflies you can fold but I love the look of this one.  It is Michael LaFosse's design and he does a great job of explaining how to do it in his video.  You can find his folding instructions here: http://www.pem.org/sites/origami/

Once you have all of your butterflies, first lay them down to see where you want them to go and then glue them to the card stock.  I used regular craft glue.  Wait for the glue to dry, put it back in the frame and viola!! 

Here are some other ones I've made:


Monday, April 29, 2013

Origami

Check out my origami tutorials under the origami tab.  I made the heart into a refrigerator magnet.  When you are done folding it, add a layer of Mod Podge and hot glue a magnet on the back. Viola!!